

9 Signs You May Have Foundation Damage Issues
Chances are, if you’re buying a home with a bad foundation, more problems may be hiding under the surface for future repairs.
Unfortunately, foundation repair is among the most expensive home repairs and, in extreme cases, can even lead to the demolition of the home.
While some natural settling will occur over time, neglect from homeowners or extreme environmental conditions can damage a foundation and disrupt a home’s equilibrium.
In most cases, foundation issues can be caught early and fixed without significant repairs. This reiterates the importance of getting a qualified home inspection and periodically checking your foundation for issues.
Common Types of Foundations in Northeast Pennsylvania
The foundation type in your home often reflects the era in which it was built, local building codes, and environmental conditions.
In Northeast Pennsylvania, you can find a variety of different foundation types, from stone foundations built over a century ago to modern concrete slab foundations, with the most common being:
- Basement Foundations: Found in a majority of older and modern homes alike, basements provide additional storage or living space. Foundation walls can be composed of several materials, from concrete to stone. While most basement foundations are sturdy, they are prone to moisture issues due to Northeast Pennsylvania’s rainy seasons and heavy snowmelt.
- Crawl Space Foundations: Homes with elevated foundations–often found along the Susquehanna River—provide a buffer between the home and the ground, preventing flooding from excess water flow. These foundations are very sturdy but require more maintenance than other foundations.
- Slab-on-Grade Foundations: In newer homes, concrete slash foundations are poured directly into the ground, providing no basement or crawl space. While generally sturdy, these foundations are prone to greater shifting due to the natural settling of the surrounding soil and hydrostatic pressure.
- Stone Foundations: Older homes may have stone or rubble foundations, which add historic charm but can deteriorate without proper maintenance. If properly graded and maintained, these foundations can last long and may still hold up today.
Each foundation type has unique vulnerabilities. Recognizing yours can help you determine the appropriate preventive measures and solutions for potential issues.
What Causes Foundation Issues?
Foundation problems don’t occur overnight. They often result from environmental, structural, and homeowner neglect.
Foundation issues can take many forms, from deteriorated basement walls that allow water to seep through to shifting soil that causes uneven floors.
Generally, some factors in Northeast Pennsylvania that contribute to foundation damage include:
- Soil Movement: The region’s expansive clay soils absorb water and expand, pushing against the foundation. Conversely, dry periods cause the soil to shrink, creating voids.
- Water Damage: Improper drainage, clogged gutters, and leaking pipes can saturate the soil, leading to erosion or hydrostatic pressure against the foundation walls.
- Freeze-Thaw Cycles: During cold winters, water in the soil freezes and expands, exerting upward pressure on the foundation. When it thaws, the soil settles unevenly.
- Tree Roots: Trees planted too close to a home can cause damage. As roots grow, they can shift soil or directly impact foundation walls.
- Construction Errors: Poor design, inadequate materials, or rushed construction can result in a weak foundation from the start. We’ll often find that many older homes lack the proper foundation support needed to support their home.
9 Signs You May Have Foundation Damage
Unfortunately, many homeowners are not trained to spot foundation problems until they start to impact daily life and result in noticeable cracks and shifts in the home’s interior. Some signs that homeowners should be aware of over time include:
1. Cracks in Walls or Floors
As your home settles, it’s natural to spot cracks on your walls, ceiling, and floors. However, not all cracks are created equal.
For example, vertical cracks are considered innocuous and a natural part of foundation settling. However, vertical cracks that extend from the wall to the ceiling or floor could be worrisome and indicate issues with the foundation.
Horizontal cracks are equally concerning as they could indicate rapid shifting in one area of the foundation compared to another.
Finally, stairstep cracks, especially along masonry objects, will indicate uneven settling and a more extensive problem that warrants investigation.
2. Uneven or Sloping Floors
Uneven settling in different areas of the home will cause the house to shift on different axis points, causing floors to slope. It’s essential to look for other signs of foundation damage, as sloping or buckling floors could also be a problem with the floor joist or subfloor underneath.
3. Sticking Doors and Windows
One of the most common signs of foundation damage that homeowners tend to ignore is sticking windows and doors.
Doors and windows that no longer fit their frames or are difficult to open and close may signal a structural shift. If you notice doors that don’t open properly or even have slightly shifted frames that don’t allow the striker to hit the latch plate, it could indicate the sinking or settling of the foundation.
Another sign to look for is foggy windows, which could result from a damaged seal due to the foundation settling.
4. Bowed Walls
If you have a basement foundation, look at your walls to see if they are bowing, cracking, or bulging in different spots. This could indicate hydrostatic pressure from outside soil that has saturated, shifted, and expanded.
5. Gaps Around Doors or Window
Look for gaps between walls and door and window frames, which indicate uneven settling. This is common in older homes and easily visible during the day when light can pierce through these openings.
6. Water Intrusion
While moisture in basements or crawl spaces is very common in areas prone to flooding by the river or even up on a hill, like Clarks Summit and Pittston, it could eventually eat away at your foundation. Look for signs of water damage, such as cracks in the wall, deterioration, or staining of the floors.
7. Chimney Movement
A leaning or cracking chimney often indicates foundation instability. Chimneys are heavy and rely on a solid base. Have a chimney expert examine the top and interior of your chimney for signs of damage.
8. Foundation Cracks
Visible cracks on the exterior foundation walls, particularly horizontal ones, clearly indicate trouble. These will be visible on the floor or walls of your foundation.
9. Persistent Musty Odor
Finally, dampness from foundation leaks can lead to mold and mildew growth, creating an unpleasant smell in the home. Regularly check moisture in your basement or crawl space and look for water intrusion after rain or snow events.
The Importance of a Foundation Inspection
A home’s foundation provides support for the rest of the house. Unfortunately, once your foundation starts to experience problems, you will most likely notice problems in other areas of your home.
For this reason, getting a foundation inspection at the first sign of a problem is important to identify the cause and fix any lingering issues.
A professional foundation inspection is an investment in your home’s longevity and value. Whether you are buying or selling a home or are concerned about your existing foundation, a home foundation inspection is essential for your safety and peace of mind. A home inspection will check for foundation issues and any issues pertaining to the foundation, such as poor drainage or broken window seals.
FAQs
Does homeowners’ insurance cover foundation repairs?
It depends on the cause. Insurance often covers sudden damage from earthquakes or floods but typically excludes gradual damage from soil movement or water intrusion. Review your policy for specifics.
What can I do to prevent foundation problems?
Ensure proper drainage around your home, maintain a consistent moisture level in the soil, and avoid planting trees too close to the foundation. Regularly clean gutters and downspouts to direct water away from your foundation.
How often should I inspect my foundation?
Visually inspect your foundation twice a year—once in the spring and once in the fall. Professional inspections should be scheduled every few years or whenever you notice potential warning signs.


Should You Get a Pre-Listing Inspection in Northeast PA?
According to the National Association of Realtors, 76% of residential real estate sales in 2023 contained contingencies. Most of these contingencies were placed by sellers who required the sale of their existing home to purchase another one.
It’s a step that most property owners will make in the course of their lives, and it’s also a little more difficult than buying your first home.
Not only are sellers worried about purchasing a home in good condition, but they must also ensure that the home is in good condition to attract the offer they want.
It may seem costly to purchase a pre-listing inspection in addition to an inspection for a new home, but it can also protect many sellers from unknowns and avoid expensive delays that could impact the purchase of their new home.
If you plan to sell your home in Northeast PA, here is why you need a pre-listing inspection.
What Is a Pre-Listing Inspection?
A pre-listing inspection is a home inspection conducted by sellers to ensure that their home is in good condition and that all required repairs are made before it hits the market.
The inspection process is the same as the buyer’s inspection and is designed to help sellers expedite the sale of their home.
Benefits of a Pre-Listing Inspection
Getting a pre-listing inspection is a good way to address repairs proactively and gain peace of mind. Here are some benefits of a pre-listing inspection for sellers.
1. Proactively Address Issues
While you will have some basic knowledge of little odds and ends that need repair in your home, most homeowners are not equipped to diagnose major structural repairs that require immediate attention.
A professional inspector will be able to view areas you might not have access to, such as the roof or foundation, where the most expensive repairs in your home may be.
A pre-listing inspection will also give you an idea of what issues will appear on the buyer’s inspection. You will need to address them regardless to get ahead of the game.
2. Expedite the Sale of Your Home
If timing is a major incentive for you, then a pre-listing inspection can be a great way to address time-consuming repairs that may delay the negotiation process.
Sometimes, a buyer may be satisfied with a pre-listing inspection and forgo their own inspection, greatly speeding up the closing process.
3. Build Transparency and Trust
Pre-listing inspections market the condition of your home and build trust by establishing that you care about it. Making necessary repairs as they arise and showing potential buyers that could earn you more trust.
4. Gain a Competitive Advantage
While the market is still considered a seller’s market, a pre-listing inspection does give you an edge over other comparable properties in your area, especially if a buyer is picky. Again, if time is an essential factor in selling your home, then a pre-listing inspection can greatly expedite the process.
5. Get More Accurate Pricing
Finally, a pre-listing inspection can greatly help assess your property’s value and allow you to set a more realistic asking price. While not a deal-breaker, having your property sitting on the market for a long time and constantly lowering the price does not look good.
Additional Considerations of a Pre-Listing Inspection
While pre-listing inspections offer numerous advantages, there are some potential drawbacks that you should be aware of.
- Additional Costs: Inspections in the area typically cost around $400-$500, which can be costly for some budget-conscious homeowners.
- Disclosure Obligations: The seller’s disclosure must include any known issues. Of course, these issues would be found during the inspection anyway, but it could make it difficult to market your home.
- Repairing Your Home vs. Selling As-Is: Another consideration in a pre-listing inspection is whether you have the budget to make the necessary repairs or will sell your home as-is. Both approaches have implications for your budget and selling strategy, and deciding can be challenging.
- Buyers May Still Request Their Own Inspection: Most brokers encourage their clients to get their own inspection, even with a pre-listing inspection. This means negotiations arising from the buyer’s findings are still possible, though these are often less contentious when the seller has already been proactive.
When Should You Get a Pre-Listing Inspection?
While we recommend a pre-listing inspection for virtually every seller, there are some scenarios where it may be more beneficial:
- Older Homes: If your home is older or hasn’t been updated in years, an inspection can help uncover potential red flags that might deter buyers.
- Competitive Markets: In a hot market, providing a pre-listing inspection can make your home stand out.
- As-Is Sales: If you plan to sell your home as-is, the inspection report can set buyer expectations and reduce negotiation conflicts.
- Peace of Mind: For sellers who want to minimize stress and uncertainty, a pre-listing inspection provides a clear roadmap for preparing the home for sale.
How to Prepare for a Pre-Listing Inspection
There are many things that sellers can do to prepare for a pre-listing inspection to make their property look better on the report.
- Choose a Certified Inspector: Research and hire a reputable home inspector with experience in your area. Look for an inspector with positive reviews and relevant certifications.
- Declutter and Clean: Make areas like the attic, basement, and utility rooms accessible for the inspector.
- Document Maintenance Records: Provide records of repairs or upgrades to help the inspector understand the home’s history.
- Address Minor Repairs: Fix small, common issues like leaky faucets or missing shingles before the inspection.
What to Do After the Inspection
Once you have the inspection report, you’ll need to decide how to proceed. First, you must decide whether to make the repairs or sell the home as-is.
Based on your findings, you’ll need to talk to your agent to negotiate pricing and research your best course of action.
Don’t get caught by expensive repairs that can delay your purchase of a new home. Get a pre-listing inspection in Northeast Pennsylvania today from the experts at Mountain to Valley Home Inspections for the most thorough and transparent inspection available.
Our inspections cover every inch of your home, from the crawl space to the roof, so you can get the most accurate assessment of its condition possible.
FAQs
Can a pre-listing inspection increase my home’s value?
While the inspection itself doesn’t directly increase value, addressing issues identified in the report can make your home more appealing to buyers and justify a higher asking price.
Will buyers still need their own inspection?
Yes, most buyers will still want their own inspection to verify the home’s condition. However, a pre-listing inspection can reduce surprises and increase trust during negotiations.
Do I have to fix all the issues found in the pre-listing inspection?
No, you don’t have to fix everything. You can address major issues, offer buyers credit, or sell the home as-is. The inspection report helps you make informed decisions about your selling strategy.
11 Most Common Issues Found in a Home Inspection Report
We’ve conducted thousands of home inspections in and around the Scranton/Wilkes-Barre area and have seen everything from do-it-yourself wiring to slanted foundations you couldn’t walk on straight.
In today’s hot real estate market, it’s common for homebuyers to forgo a home inspection to make their offer more competitive. However, this strategy could put your safety and your money at risk.
We understand the financial risks of buying a home, which is why our home inspection reports are designed to be as thorough and professional as possible.
Through our years of experience in the field and some additional research, we’ve uncovered the most common home inspection problems for homes in the Northeast PA region and much of the nation. Let’s dive in!
11 Of the Most Common Home Inspection Issues
Unfortunately, the most common home inspection problems we find with many homes in the area tend to be the most expensive repairs.
It often makes sense as many homeowners don’t have the available capital to make these repairs and thus dump their home on the market, hoping it will sell in spite of these flaws or that they will be missed.
Understanding and identifying these common home inspection red flags will help you avoid costly repairs and give you greater peace of mind.
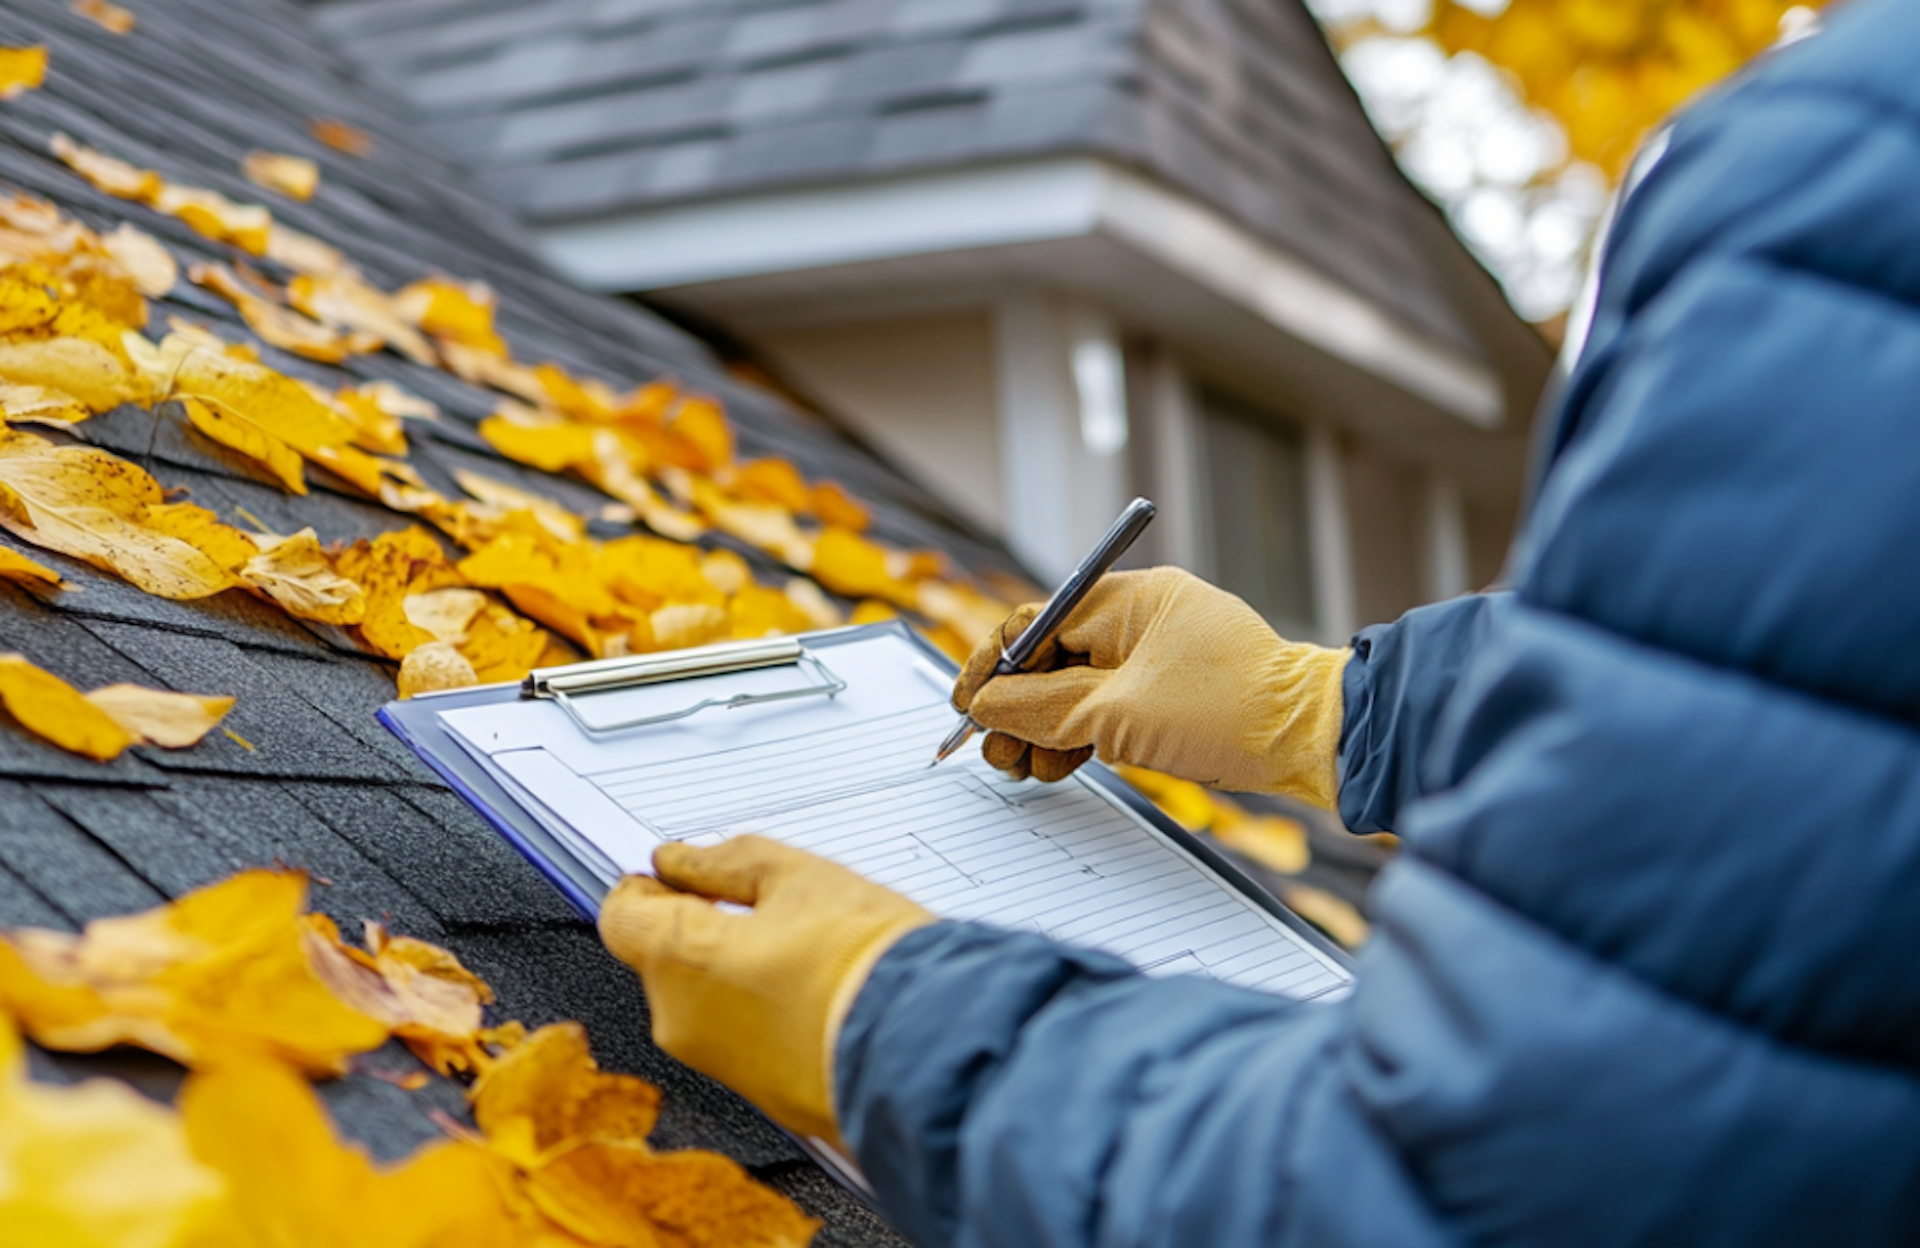
1. Roof Issues
According to a survey by the Inspection Support Network (ISN), roof issues were the most common issue cited on 19.7% of all inspection reports.
Regardless of the type of home you have, most people in the northeast tend to have asphalt shingle roofs, which last between 15-30 years on average.
However, excessive rainfall, poor drainage, low-lying tree branches, squirrels, and extreme weather can cause immediate damage or diminish the longevity of your shingles very quickly. Some of the most common issues we tend to find with roofs include:
- Missing or damaged shingles
- Leaks and water damage
- Improper flashing installation
- Mold or algae growth
While repairing a roof may only cost a few hundred dollars. Replacements can total tens of thousands of dollars, depending on the size and contractor.
Mountain to Valley Home Inspectors uses a drone to assist with roof inspections that provide high-level details about the condition of your roof for the most accurate analysis possible.
2. Outdated Electrical Wiring and Panels
The second most common issue cited in the ISN report that many people may overlook is outdated electrical wiring. If you’ve ever looked into a perfectly preserved Victorian, Tudor, or Colonial home in the area, you’ve probably run into nob-and-tube wiring that doesn’t pass code.
However, aluminum wiring–commonly found in homes built between 1965 through 1973–is also another red flag that tends to deteriorate faster than copper and is a fire hazard.
Likewise, poor electrical wiring on your circuit panels that causes breakers to trip is another common issue we frequently run into that can be hazardous and inconvenient.
3. Foundation Cracks and Damage
Homeowners often ignore foundation and structural issues due to their costly repairs, but they can cause a whole host of problems, from inviting moisture to damaging walls and ceilings.
Some signs of structural issues commonly found on home inspection reports in the area include:
- Cracks in walls or foundations
- Uneven floors
- Water intrusion in basements
- Rotting or damaged support beams
Don’t think that foundation issues are strictly limited to older homes. Often, newer homes built in the last 10-15 years suffer from structural issues due to poor soil compaction that doesn’t allow the foundation to settle properly.
4. Water Damage
Water damage can vary based on the build and location of the home, but damage from flooding can be very apparent for many homes that line the Susquehanna River. Additionally, leaky pipes that homeowners may not be aware of can also cause substantial damage.
Unfortunately, water damage can be difficult to clean up as it can seep into walls, damage electrical wiring, cause mold, and rot out wooden beams, which may go unnoticed in a standard home inspection report. Therefore, any sign of water damage, such as stained walls, must be investigated further.
5. Plumbing
Nearly every home will experience some minor plumbing issues over its lifetime, and many of these can be fairly minor. Nevertheless, addressing any leaks or backflows before they lead to water damage or flooding is still important.
We also tend to note any Polybutylene Plastic supply lines that are more susceptible to leaks.
6. Poor Drainage
Your gutters may be something you ignore every year, but they play an essential role in protecting your foundation. Any drainage issues from downspouts, including clogged or damaged gutters, will be flagged on a home inspection report. While repairs are fairly inexpensive, they should be addressed immediately to protect your foundation.
7. Sticking Windows and Doors
You might not believe it, but the third most common issue cited in the ISN report was sticking or outdated windows. We frequently encounter this issue with older homes in the area that have windows or doors that stick or won’t open. This can cause ventilation issues, which can lead to excess humidity or carbon monoxide.
Windows and doors are also common points where air leakages have occurred, especially if either has separated from the frame of your house.
8. Cracked Floor Joists
Cracked or rotting floor joists are just as common and dangerous as foundation issues. Measuring your floors to see if they are balanced is a good idea for homes with a basement or a second story. It’s actually very common for newer homes with lesser quality wood or recently remodeled homes to have joist issues, which can threaten the structural integrity of the home.
9. Trees Close to the House
Trees with low-lying branches are a very common red flag we see on houses all across the area. Known for our dense forested mountains, many homes tend to have a cluster of trees in their front or backyard that can put their roof at risk.
10. HVAC Issues
During inspections, we will also flag any HVAC issues, which typically arise from:
- Poor maintenance
- Clogged filters
- Duct leaks
- Outdated or inefficient systems
Not only will the efficiency of these systems decline, but replacement may also be necessary, which could cost thousands of dollars.
11. Deck and Patio Issues
Finally, we tend to encounter a lot of shoddy workmanship when it comes to both professional and DIY decks and patios.
From poor staining to uneven ground and even wooden planks that have rotted, we recommend that sellers fix these problems before proceeding with a sale, as they can be extremely hazardous.
Additional Red Flags Not Covered in Home Inspection Reports
While home inspection reports are thorough and cover most areas of your home, there may be some additional areas that you may want to hire for a separate inspection.
- Mold: It’s very easy to miss mold during a home inspection, as mold tends to proliferate in dark and wet places, such as behind your walls, a drop ceiling, or your HVAC system. We recommend all first-time homebuyers conduct a separate mold inspection, especially if you’re purchasing an older home.
- Septic/Sewage System: Most homeowners are unaware that they are responsible for many of the pipes connected to their house from their sewage system. While it’s not entirely necessary to inspect these pipes, we do recommend getting an inspection done on your septic system if you don’t have public sewage. Since septic systems require more maintenance, they tend to run into more problems.
- Waterproofing: If you live in a flood zone or on a hill, it’s a good idea to determine if your basement is properly waterproofed. This will help prevent water damage from heavy rainfall or snow.
- Water Quality: If you purchase a home with well water, it’s a good idea to get a water sample test to determine if it is safe for consumption.
- Radon: Radon is a silent and harmful gas that tends to emit in higher concentrations from old mine shafts. Get a radon test done to see if there are any steps that need to be taken to remove or protect your home from radon.
By understanding these common home inspection issues, you can determine what the right course is, as many of these are bound to come up on any home inspection report.
FAQs
What should I do if a home inspection report reveals significant issues?
If major problems are identified, consult a contractor or specialist for repair estimates. Buyers can negotiate with sellers for repairs or price adjustments to avoid being on the hook.
Are home inspections mandatory?
While not legally required, most lenders insist on inspections to ensure the property’s condition and underwrite any loan.
Can I waive a home inspection to gain a competitive edge in the market?
Waiving an inspection is risky, as it leaves you unaware of potentially costly repairs.
Common Examples of Weather Damage to Northeast PA Homes
As longtime residents of Northeast Pennsylvania, we’re used to prepping our homes for frozen pipes in the winter and windy storms in the fall.
However, as the climate changes and storm surges worsen, we have noticed an uptick in weather-related damage to homes in the area.
Even seasonal dangers, such as a buildup of leaves in gutters or excessive humidity in the summer, can damage homes indirectly without our knowledge.
While NEPA boasts a moderate, subtropical climate, homeowners need to be aware of plenty of things when buying or selling a home with weather-related damage.
This guide will explore the most frequent examples of weather-related damage we’ve experienced on homes in NEPA and provide tips for inspecting and preventing such damage.
1. Roof Damage from Snow, Ice, and Wind
Roof damage is one of the most common and expensive home problems that we often uncover during home inspections.
Unfortunately, for homeowners, avoiding roof damage is very difficult as several weather-related factors can damage your roof, including:
- Snow Accumulation: Excessive snow on a roof adds weight, increasing the risk of structural strain and potential collapse.
- Ice Dams: When ice ridges form at the roof’s edge, they trap melting snow, which can lead to water seeping beneath shingles and causing leaks.
- Wind Damage: Strong winter and spring winds can dislodge or crack shingles, leaving the roof vulnerable to water damage.
In addition, damage from falling tree limbs and debris is widespread in the area, especially for homes in more rural areas, such as the Poconos, Bear Creek, or Tunkhannock.
To prevent roof damage from worsening, we highly recommend scheduling a roof inspection every few years to get ahead of repairs. In addition, it’s essential to clear off any debris that may fall on the roof that could end up in downspouts or get lodged between shingles.
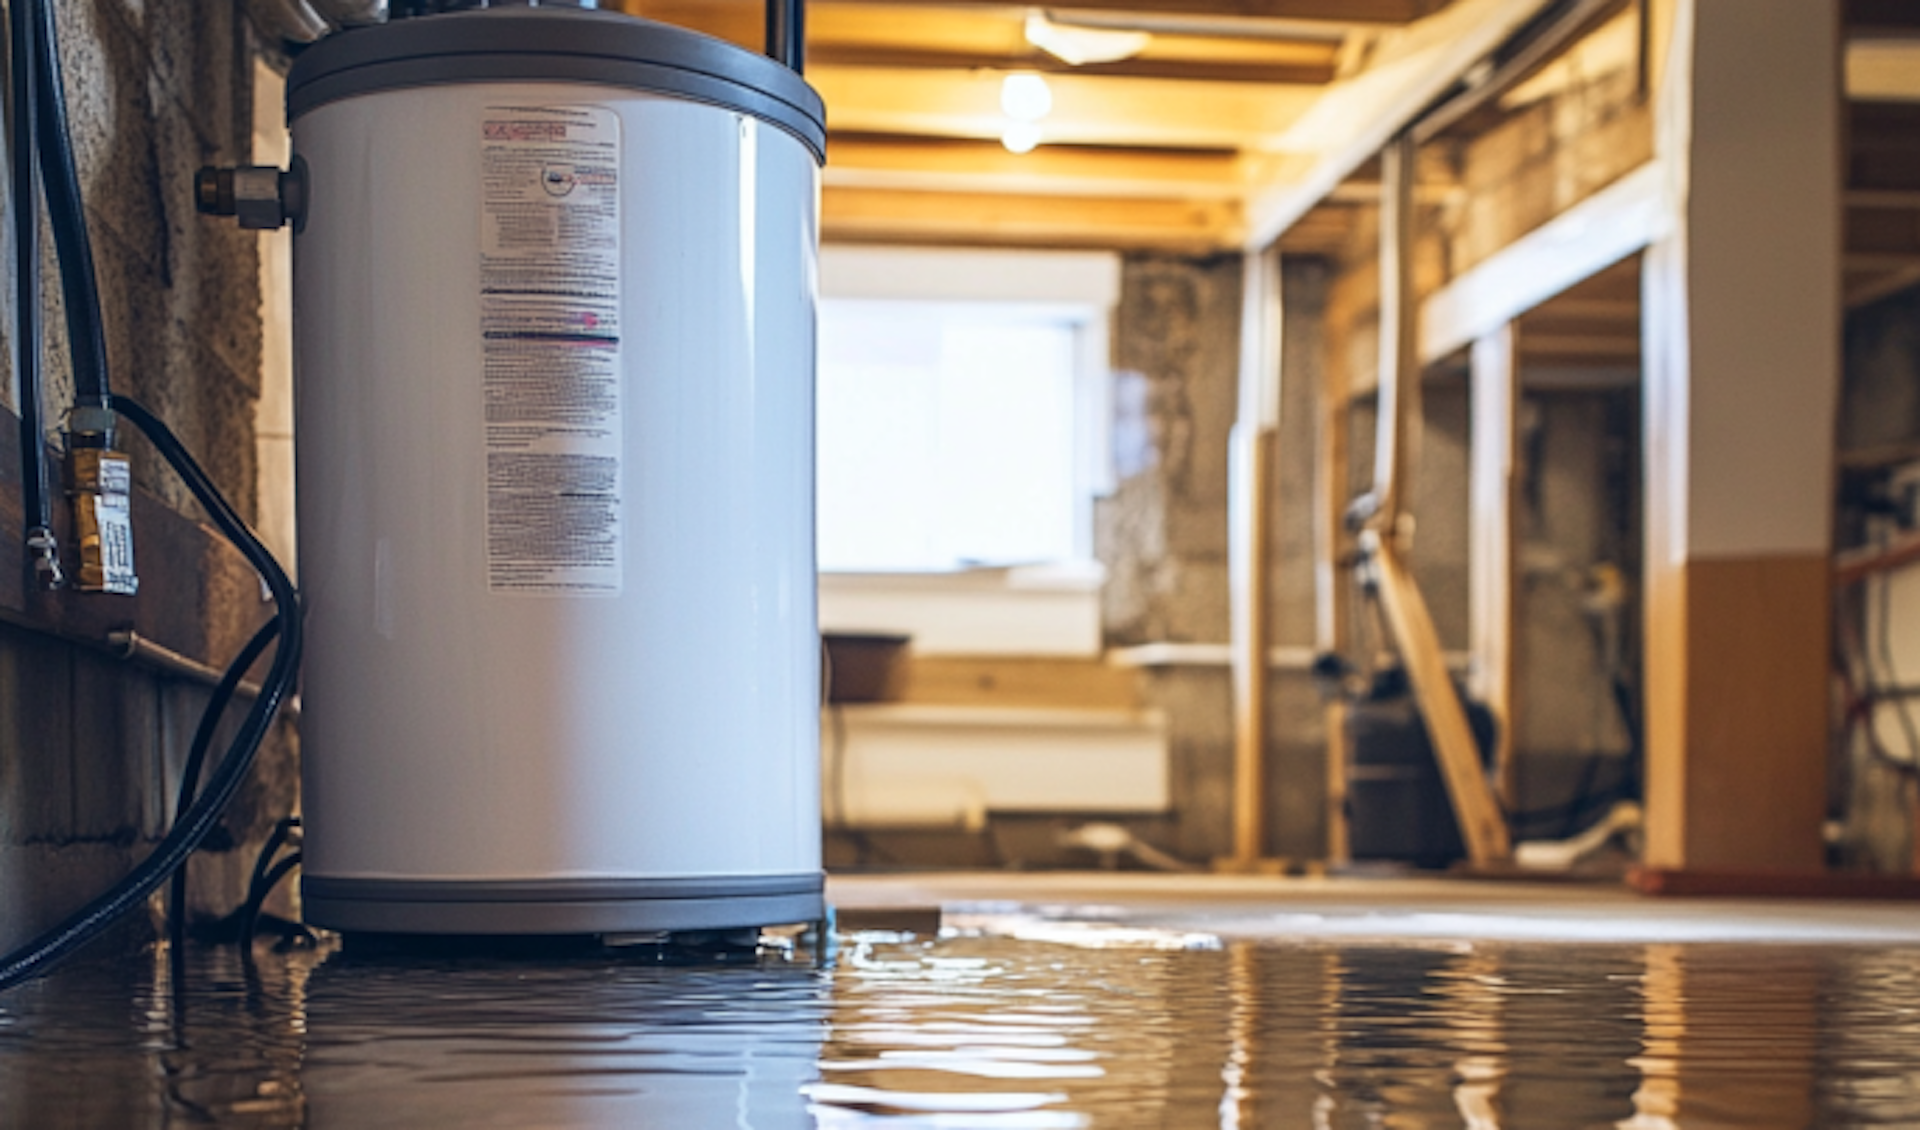
2. Basement Flooding from Heavy Rains and Snowmelt
On the opposite end of the house lies the basement, which is typically protected from the elements but can be vulnerable to flooding.
Unfortunately, flooding doesn’t need to occur from a once-in-a-lifetime event like Hurricane Agnes in 1972. Still, it can be a frequent concern for residents in mountainous regions that live on hills.
For example, residents in hilly neighborhoods, such as Pittston, Clarks Summit, and Mountain Top, frequently experience basement flooding caused by water that flows past their houses from higher elevations.
Sealing basement cracks is only half the battle; many residents require sump pumps and, in extreme cases, new slope grading to divert water away from their homes and basements.
3. Frozen Pipes in Winter
Every Northeastern resident is familiar with extreme cold alerts that require you to leave your cabinets open and the faucet dripping to avoid freezing pipes. Unfortunately, even with the right precautions, frozen pipes can be inevitable and wreak havoc on the interior of your home.
Water damage caused by broken or damaged pipes can lead to a host of issues, including damage to floors, foundation damage, mold growth, and replacement of your pipes.
When inspecting homes, one of the most essential things we search for is water damage caused by flooding or humidity, as well as broken or leaky pipes.
4. Siding and Exterior Wall Damage from High Winds and Hail
Extreme gusty winds are common in Northeast Pennsylvania and can cause many issues for your siding. In our experience, aluminum or vinyl siding is the most vulnerable to damage, such as puncturing or separation from the home.
While siding damage may appear only to be an aesthetic concern, it can also cause several issues that can harm your home. For example, holes in your siding can invite moisture, pests, and other debris that damage interior components.
5. Foundation Cracks from Soil Shifting and Frost Heave
Foundation issues are prevalent in Northeast PA due to the rapid freezing and thawing cycle of the soil during the fall and spring. Unfortunately, these cycles allow the soil to expand and contract, causing voids to form and the soil to shift.
Another cause of foundation damage is heavy rainfall, which saturates the surrounding soil and penetrates the foundation. Malfunctioning gutters also allow water to pool around foundations and form cracks.
When hunting for a home, don’t discount an older home’s advantage when it comes to a settled foundation. Newer homes are often more vulnerable to foundation shifting and its ill effects as these homes will not have very established foundations.
6. Gutter and Downspout Damage from Ice and Debris Buildup
Speaking of gutters, we cannot emphasize enough the importance of proper gutter maintenance during the fall and winter. Gutters are essential for diverting water away from your home’s foundation during rain and snow.
A clogged, separated, or damaged gutter downspout will immediately be a red flag that we log on our inspection report and urge home sellers to fix.
Some of the most common issues we find with gutters in Northeast PA include:
- Clogs: Leaves, ice, and debris can block gutters, leading to water overflow.
- Ice Dams: Water trapped by ice can lead to ice dams, causing roof and foundation damage.
Seasonal cleaning, winterizing gutters, and installing leaf guards can be great proactive tips for keeping gutters in working condition.
7. Mold Growth in Humid Summer Conditions
Finally, we focus so much on weather-related events during the fall and winter, but the spring and summer can bring their issues. For example, mold buildup is one of the most common problems we discover on home inspection reports.
However, mold is not always the result of leaky pipes or flooded basements. In many cases, older homes with poor ventilation in bathrooms, attics, and basements can cause mold to build up during hot and humid conditions.
For this reason, we always urge home buyers to conduct a mold inspection when searching for a home, as mold buildup can cause several health-related issues.
The Importance of Regular Home Inspections
Being subject to a constant barrage of changing temperatures and extreme storms, houses in Northeast Pennsylvania can take a beating. We urge homeowners, buyers, and sellers to conduct regular home inspections to get ahead of repairs and costly damage.
For a reliable home inspection in Northeast PA with the most accurate assessments of the quality and condition of your home, turn to the experts at Mountain to Valley Home Inspections. We are long-time local residents of NEPA with a keen understanding of weather-related issues that can damage your home and impact its value.
FAQs
How often should I inspect my roof in Northeast PA?
It’s recommended to inspect your roof every five years or after severe weather events. Spotting minor issues early can prevent major damage.
How can I prevent my basement from flooding?
Installing a sump pump, maintaining proper grading around your home, and sealing foundation cracks are effective ways to prevent basement flooding.
What can I do to prevent ice dams on my roof?
Keep your gutters clear, add insulation to your attic, and consider installing roof heating cables to prevent ice dams from forming.
What are the signs of foundation issues caused by frost heave?
Look for cracks in walls and floors, doors and windows that stick, and uneven floors, as these could indicate foundation movement from frost heave.

Advantages of Using Drones for Home Inspections
Home inspection drones are one of the most significant improvements in the home inspection field in recent years. Using high-resolution imagery and the ability to fly anywhere without disturbing the property, our technicians can use home inspection drones to analyze roofs, chimneys, and attics like never before.
Learn more about the benefits of a home inspection drone for your Northeast Pennsylvania property and why it pays to partner with a home inspector that uses the latest drone technology.
What Are Home Inspection Drones?
Home inspection drones are unmanned aerial vehicles (UAVs) equipped with high-resolution cameras and additional sensors, such as thermal imaging, to assist in property inspections. These drones can provide detailed aerial views of properties, including difficult-to-reach areas such as roofs, tall chimneys, and the upper portions of large homes, without disturbing these areas.
With recent improvements in drone technology, these cameras can provide high-resolution images that surpass ordinary cameras. Furthermore, thermal imaging and multispectral sensors allow drones to determine home heat patterns to see where heat loss may occur.
These advancements allow home inspectors to dive deeper beyond traditional means to give you a genuinely 360-degree look at any property you get inspected.
Benefits of Using Drones in Home Inspections
Home inspection drones offer numerous advantages compared to traditional inspection methods. Below are some of the key benefits:
1. High-Resolution Imagery
Modern drones are equipped with high-resolution cameras that can capture crisp images and videos, allowing inspectors to identify and illustrate potential issues to their clients. As previously stated, many of these cameras are even more sophisticated than you will find on modern iPhones and professional cameras, allowing technicians to provide crystal-clear documentation of any issues they find.
2. Improved Access to Hard-to-Reach Areas
Roofs, chimneys, and other high-up places may be difficult for inspectors to access, preventing them from getting an accurate image or risking their safety. Even if an inspector can make their way to a roof, it can be difficult to examine every part, such as the top of a chimney or gable that may be on a steep pitch. Drones bypass these obstacles, allowing inspectors to gain full access to these areas without any limitations.
3. Increased Safety for Inspectors
Home inspection drones are also safer for inspectors, reducing liability for each party. Inspectors often have to climb ladders, walk on sloped roofs, and navigate precarious heights to complete an inspection. Drones eliminate these demands, placing everybody in greater safety.
4. Time and Cost Efficiency
Drone inspections save both time and money, which can save the client time and money. A typical roof inspection might take an inspector several hours, especially if it involves climbing and documenting various sections. With a drone, the same inspection can be completed in a fraction of the time and at a lower cost.
5. Thermal Imaging
Many home inspection drones are equipped with thermal sensors that allow inspectors to diagnose the heat profile of a property. This enables them to determine if there is anywhere where heat is escaping, or cool drafts are entering, which could impact your energy bills and comfort.
Common Examples of How Drones Are Used in Home Inspections
Drones are versatile tools that can perform a variety of inspection tasks. Here are some examples of how they are commonly used in home inspections:
1. Roof Inspections
Our team at Mountain to Valley Home Inspections uses home inspection drones for roof inspections daily. Using home inspection drones, we can assess the condition of shingles, check for cracks, look for leaks, analyze flashing, and identify any potential leaks. The aerial view provides a comprehensive picture of the entire roof, which is often hard to achieve with traditional methods.
2. Gutter Assessments
Drones can also be used to inspect gutters, which many homeowners don’t think much about. However, blocked or misaligned gutters can cause drainage issues that impact your foundation.
An aerial view of your gutters can identify blockages caused by leaves or other debris. It can also be used to videotape drainage patterns as water escapes to see where any potential issues may lie.
3. Heat Loss and Energy Efficiency Checks
Drones equipped with thermal cameras allow us to analyze a home’s thermal profile and provide a more accurate assessment of its energy efficiency.
4. Structural Assessments
Finally, drones can also help us assess the general structural integrity of a property. We use them to look for cracks in the foundation, assess siding conditions, or evaluate the overall exterior of the home.
A home inspection drone benefits inspectors in many ways, which then gets passed on to the consumer. For more information about our home inspection drones, contact us today to see how they can assist you on your next home inspection.
FAQs
Are drone inspections safe?
Yes, drone inspections are generally safer than traditional methods since they eliminate the need for inspectors to climb ladders or walk on roofs, reducing the risk of accidents.
Do drone inspections provide accurate results?
Absolutely. Drones equipped with high-resolution cameras and sensors provide detailed images and data, making it easier to identify issues that might be missed during a traditional inspection.
Are drones allowed to inspect any property?
The use of drones is subject to regulations, which can vary by location. Inspectors need to follow guidelines set by aviation authorities and may need permission to fly in certain areas.

What Do Home Inspections Check For? Homeowner’s Guide
According to data from Housezo, a home inspection can save the average homebuyer up to $14,000 in possible repairs. Furthermore, many people leverage home inspection reports to gain a favorable offer, thus delivering a significant ROI on their investment.
Unfortunately, some things need to be clarified about what a home inspection covers, which has led people to forgo an inspection for a favorable offer in recent years.
This guide will explain what home inspections cover so you understand why you need one
What Is a Home Inspection?
A general home inspection is a thorough assessment of a home’s condition that provides buyers and sellers with a detailed list of all known defects and potential future repairs.
This report covers almost every inch of the property, from the foundation to the roof, so that both parties gain an unbiased view of the property they are transacting.
Home inspections look for general structural concerns but do dive deeper into other aspects, such as appliances, HVAC systems, and more. For more specific inspections around septic tanks, water quality, and mold, a separate inspection will need to be ordered to assess these features.
When Is a Home Inspection Conducted?
The buyer orders a home inspection once a deposit has been placed and before appraisal. This step helps buyers avoid costly repairs and defects not disclosed by sellers so that they can negotiate a lower rate or schedule the repairs before the sale.
Sellers may also order a pre-listing inspection before bringing their property to market to get any repairs taken care of so it doesn’t delay the sale of a home.
What Does a Home Inspection Check For?
Whether you’re a first-time homebuyer, a seasoned investor, or a homeowner preparing to sell, understanding what a home inspection checks for can help you make informed decisions and avoid costly surprises. Here is what you can expect from your home inspection report.
1. Structural Integrity
One of the primary concerns in any home inspection is the property’s structural integrity.
Some areas the inspector will examine to determine their structural soundness include:
- Foundation
- Walls
- Roof
- Flooring
- Framing
To determine if there is any damage, your inspector will look for signs of settling, cracks in the foundation, sagging roofs, or uneven floors, all of which could indicate serious structural problems. Structural issues can be costly to repair and may even render a home unsafe, so this is a critical part of the inspection.
2. Roof Condition
Roofs are one of the most expensive parts of a home to fix and often the most common reason for failed inspection reports. Inspectors will check the roof for signs of wear and tear, such as missing or damaged shingles, leaks, and the condition of the gutters and downspouts. They will also assess the roof’s age and estimate how much longer it might last based on local conditions and the materials used.
3. Plumbing System
Plumbing can often be an unexpected reason for failed inspection reports, so we strongly urge sellers to get their plumbing system inspected with a pre-listing inspection.
Your inspector will check for water pressure, the condition of pipes, and any signs of leaks, corrosion, or water damage. They will also assess the condition of fixtures, toilets, sinks, and water heaters.
Plumbing problems can lead to extensive damage and expensive repairs if not addressed, making this a key area of focus.
4. Electrical System
Many older homes in Northeast Pennsylvania still use outdated knob-and-tube wiring that is not up to code. The inspector will examine the type of wiring used and the electrical panel, outlets, and switches to ensure they are up to code and functioning correctly.
5. Heating, Ventilation, and Air Conditioning (HVAC) Systems
Energy efficiency is a huge topic of focus among many home buyers in today’s market.
A general home inspection will assess the furnace, air conditioning units, ductwork, and ventilation systems to search for signs of cracks, leaks, or malfunctioning equipment that needs to be replaced.
6. Insulation and Ventilation
A general inspection of the attic, basement, and crawl spaces will determine whether or not insulation needs to be upgraded or is damaged. Inspectors will also search for signs of poor ventilation, which could necessitate repairs.
7. Exterior and Grounds
The exterior of the home will also take up a good deal of focus and is often the first place that many inspectors begin. Your inspector will examine the following to look for signs of damage, such as wood rot, separation, and cracks:
- Porches
- Decks
- Sheds
- Downspouts
- Nearby trees that might be dangerous
8. Appliances
These will also be inspected if the home includes appliances like a stove, dishwasher, or washer and dryer. Your inspector will look to see if these appliances function correctly or have any signs of damage that may require replacement.
9. Safety Features
Finally, the inspector will determine whether or not the proper safety features are present and functioning in your home, such as a smoke detector, carbon monoxide detector, and fire extinguisher.
Unfortunately, when most people search for a home, they do nothing more than a basic eyeball test to determine if it’s liveable. However, most are not trained or knowledgeable enough to spot clear signs of damage and danger, even when they are right in front of our faces.
A home inspection is the only way to get a thorough and unbiased assessment of the condition of a home you are looking to buy or sell. Using this information, you can walk away from a deal that is not right or make the necessary repairs to get a deal completed.
FAQs
What happens if the home inspection reveals problems?
If the inspection uncovers significant issues, the buyer and seller may negotiate repairs, price reductions, or other terms to address the problems. In some cases, the buyer may choose to walk away from the deal.
How long does a home inspection take?
A typical home inspection takes 2 to 4 hours, depending on the size and condition of the property.
Can a home fail an inspection?
Homes don’t “pass” or “fail” an inspection. Instead, the inspection report highlights any issues or concerns, which can then be addressed by the buyer and seller.
What Should Homeowners Do Before a Home Inspection?
Many home seekers are surprised to learn how many fees are contained in closing costs, from appraisal to title searches and even commission for your realtor.
While many of these fees and services are essential to purchasing a home, no service pays dividends quite like a home inspection.
According to a recent analysis from Porch.com, buyers were able to reduce the final sales price of their home by $14,000, on average, by using their inspection report as a negotiating tool.
As a seller, we often recommend a pre-listing inspection to avoid unknowns on a buyer’s inspection and make necessary repairs before going to market. However, there are many things you can do before a home inspection to make your report better and strengthen your position during future negotiations over the price of your home.
Importance of a Home Inspection
Before delving into the specific steps that homeowners should take before an inspection, it’s important to reiterate the benefits of a home inspection for all types of homeowners, whether you are a buyer, seller, or dweller.
- Avoid Safety Issues: Home inspections cover every inch of your property from the foundation to the roof. By uncovering any unknown defects that may threaten the safety of residents, homeowners can make timely repairs that help avoid incidents or further exacerbations of the problem.
- Avoid Expensive Repairs: By uncovering unknown issues, homeowners can prevent superficial issues, such as cracks in their foundation, before they become more substantial issues.
- Use as a Negotiating Tool: Receiving a clean inspection report or making any necessary repairs can enhance the value of your home when you go to sell.
- Allow Sufficient Time to Make Repairs: Performing a pre-listing inspection will allow homeowners enough time to make repairs that could delay the sale indefinitely.
What Should Homeowners Do Before a Home Inspection?
Perception is reality. Even if your inspection report is littered with superficial or cosmetic issues, it could turn off potential buyers or be used against you in negotiations.
Fortunately, homeowners and sellers are not powerless to fix or clean up their home inspections. By doing so preemptively, they can enhance the value of their homes and strengthen their negotiations. Here are some steps we recommend homeowners take before a home inspection to improve their inspection report.
1. Clean Tidy Up
There are several things you can do to clean up your inspection report without ever having to touch a power tool:
- Clean all our air filters, including HVAC and furnace filters
- Sanitize and clean off any visible mold on surfaces, including attic roofs and above basement drop ceilings
- Declutter attic and basement spaces, allowing sufficient room for ventilation
- Clean bathroom tiles, including any evidence of mold
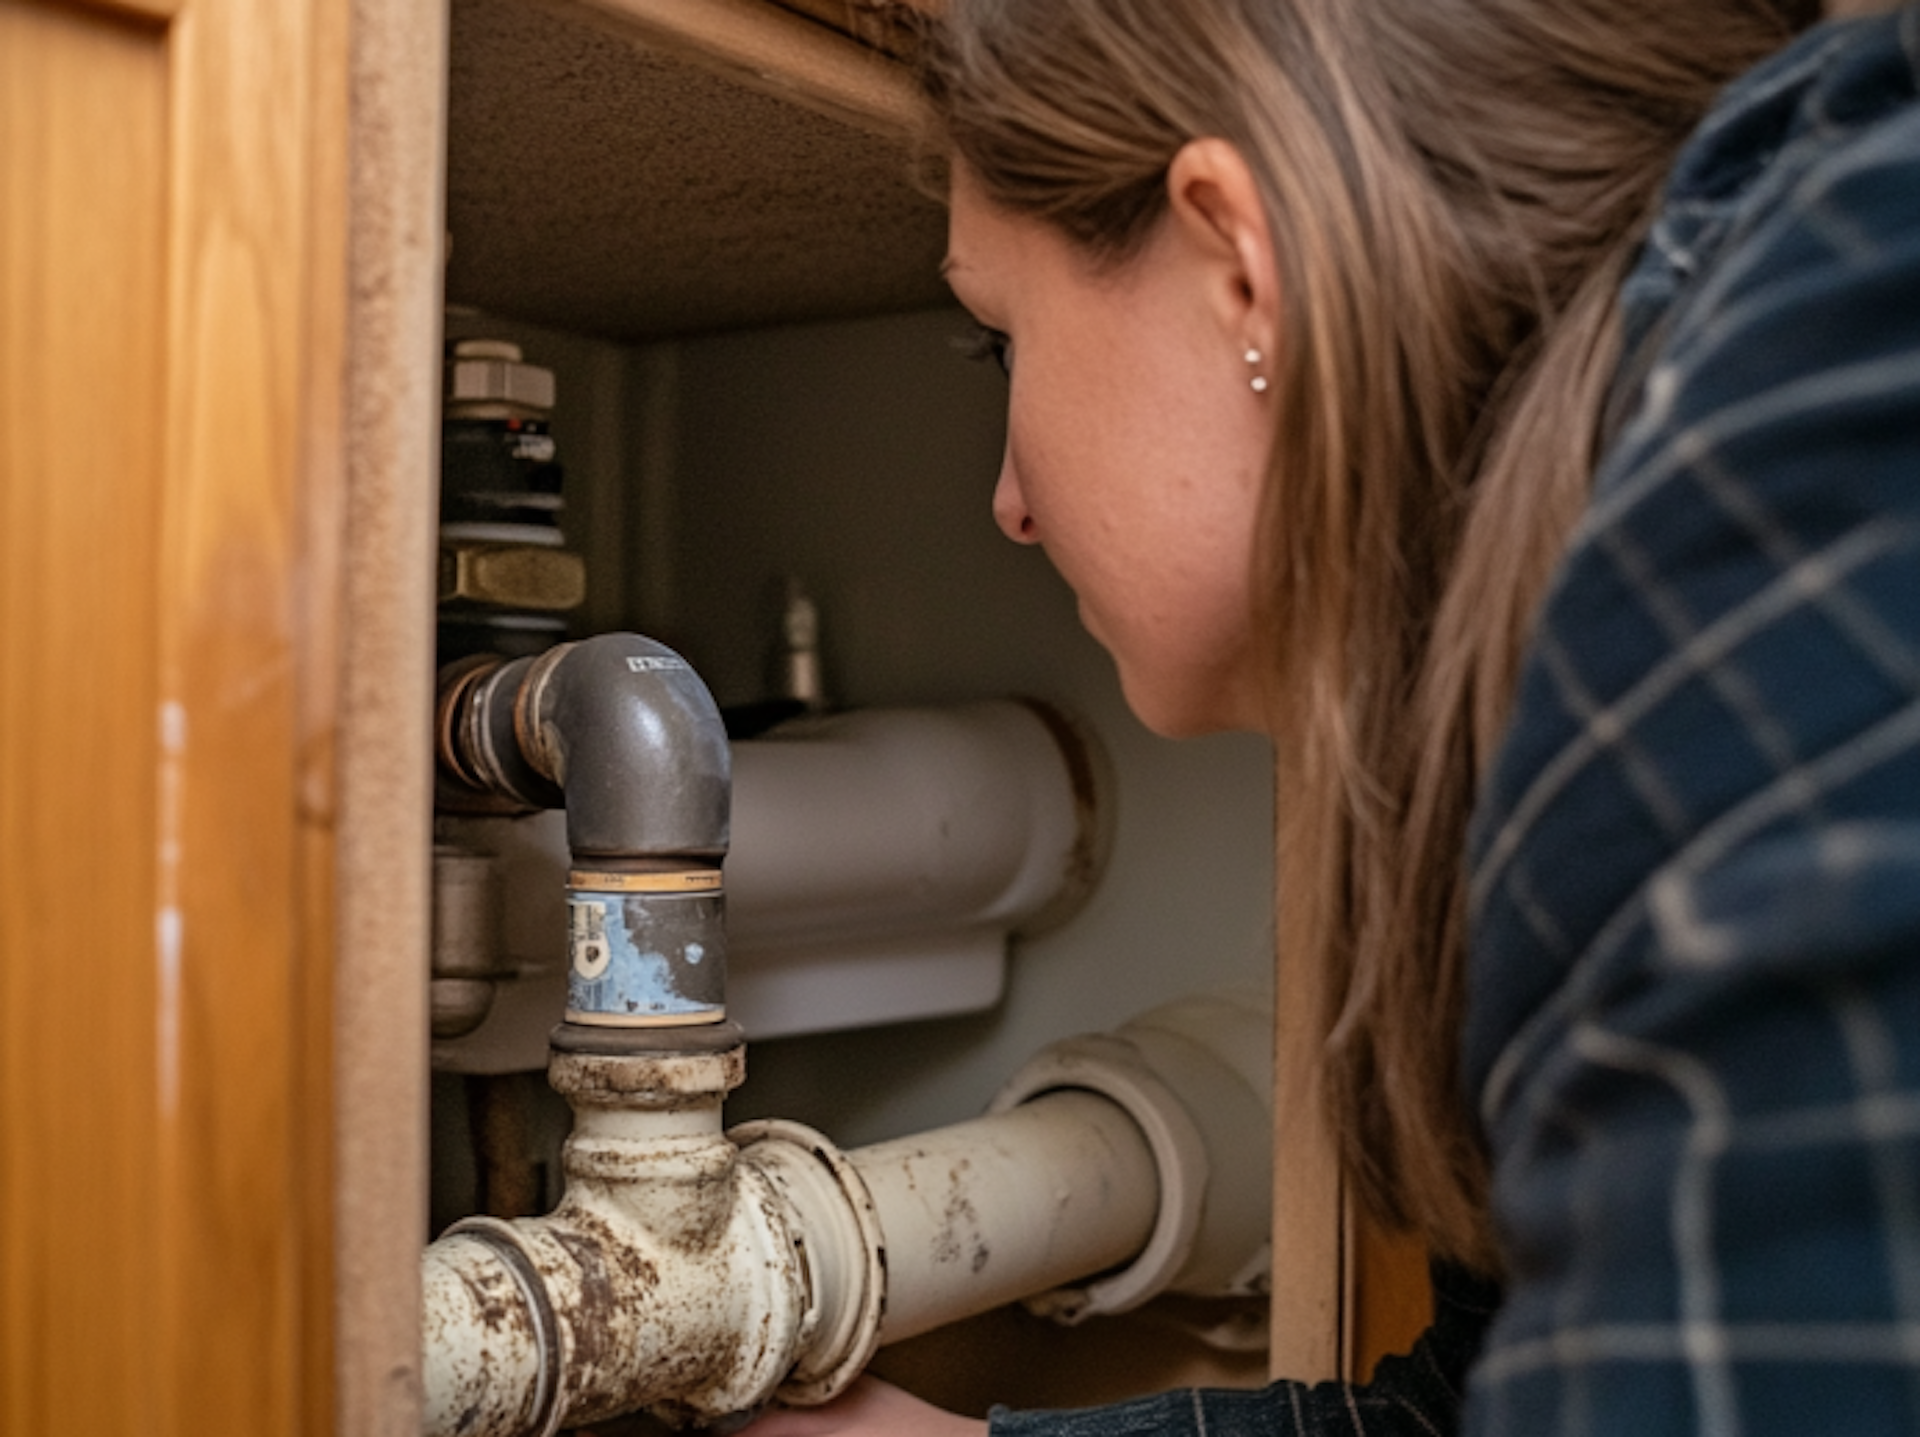
- Clean out areas underneath sinks where moisture tends to accumulate
Cleaning your home will also lower your risk of pests during the warmer months, which may show up on an inspection report.
2. Perform a Visual Inspection for Issues
You can easily spot and fix any cosmetic issues in your home by doing a light visual inspection. Some ideas include:
- Replacing any burnt-out light bulbs
- Testing appliances for proper functionality
- Checking for any leaks around pipes
- Inspecting and sealing any exterior cracks that might invite pests
- Ensure toilets and sinks flow properly
3. Repair Known Issues
If there are any known issues that you would otherwise have to disclose or know will come out on the inspection report, being proactive will help save you time and money. Even small repairs, such as replacing broken screens, finishing decks, and patching any holes or cracks, can go a long way in building a positive perception of your home.
4. Complete Unfinished Home Improvement Projects
In the same way, we recommend completing any unfinished home improvement projects, such as new tiling or flooring, before putting your home on the market.
5. Make Small Efficiency Improvements
Home efficiency is not something many homeowners think about, but it’s an important part of your home inspection report. Small improvements, like smart thermometers, upgrading your insulation, or installing a more efficient HVAC system, will allow you to charge a higher price and will make your inspection report look better.
6. Landscape
The exterior of your home is just as important as the outside, so creating a positive perception with some expert landscaping can make your home more attractive to potential buyers. In some cases, trimming an overgrown tree or eliminating a pesky stinging insect’s nest will also avoid potential red flags on your home inspection report.
7. Allow Inspectors Plenty of Room to Operate
Finally, it’s important that homeowners give home inspectors plenty of room to perform their jobs. Be sure to:
- Remove any pets from the property that may interfere with the inspector
- Leave keys to all equipment
- Remove dishes and laundry from appliances
- Ensure that inspectors have proper access to all appliances and utilities, including septic systems
These tasks will allow your home inspector to get a clear and uncompromised view of your home so that any unknowns do not pop up on a future inspector’s report.
While most of us understand the importance of a home inspection, there are many things that you can do to improve your inspection report and be proactive about repairs. This will strengthen your negotiating position and help expedite the sale of your home by barring any delays due to the unknown.
FAQs
How long does a home inspection typically take?
A typical home inspection takes between 2 to 4 hours, depending on the size and condition of the home.
What should I expect the inspector to check?
Inspectors usually check the structure (foundation, roof, walls), exterior (siding, windows), plumbing, electrical systems, HVAC, insulation, ventilation, and appliances. They also look for signs of water damage, pests, and other potential issues.
Do I need to fix everything the inspector finds?
Not necessarily. The inspection report is typically used for negotiation between the buyer and seller. Some issues may need immediate attention, while others could be minor or cosmetic.
New Construction Inspections Guide: Understanding the Phases
Purchasing a new home In Northeast PA can be a risky financial decision, which is why many people prefer the security of a brand-new home.
However, new construction homes can often be subject to the same issues as older, existing homes, if not with added concerns.
Factors such as the builder’s negligence, local soil conditions, and the strength of the materials used could lead to any number of issues that cost homeowners thousands of dollars down the road.
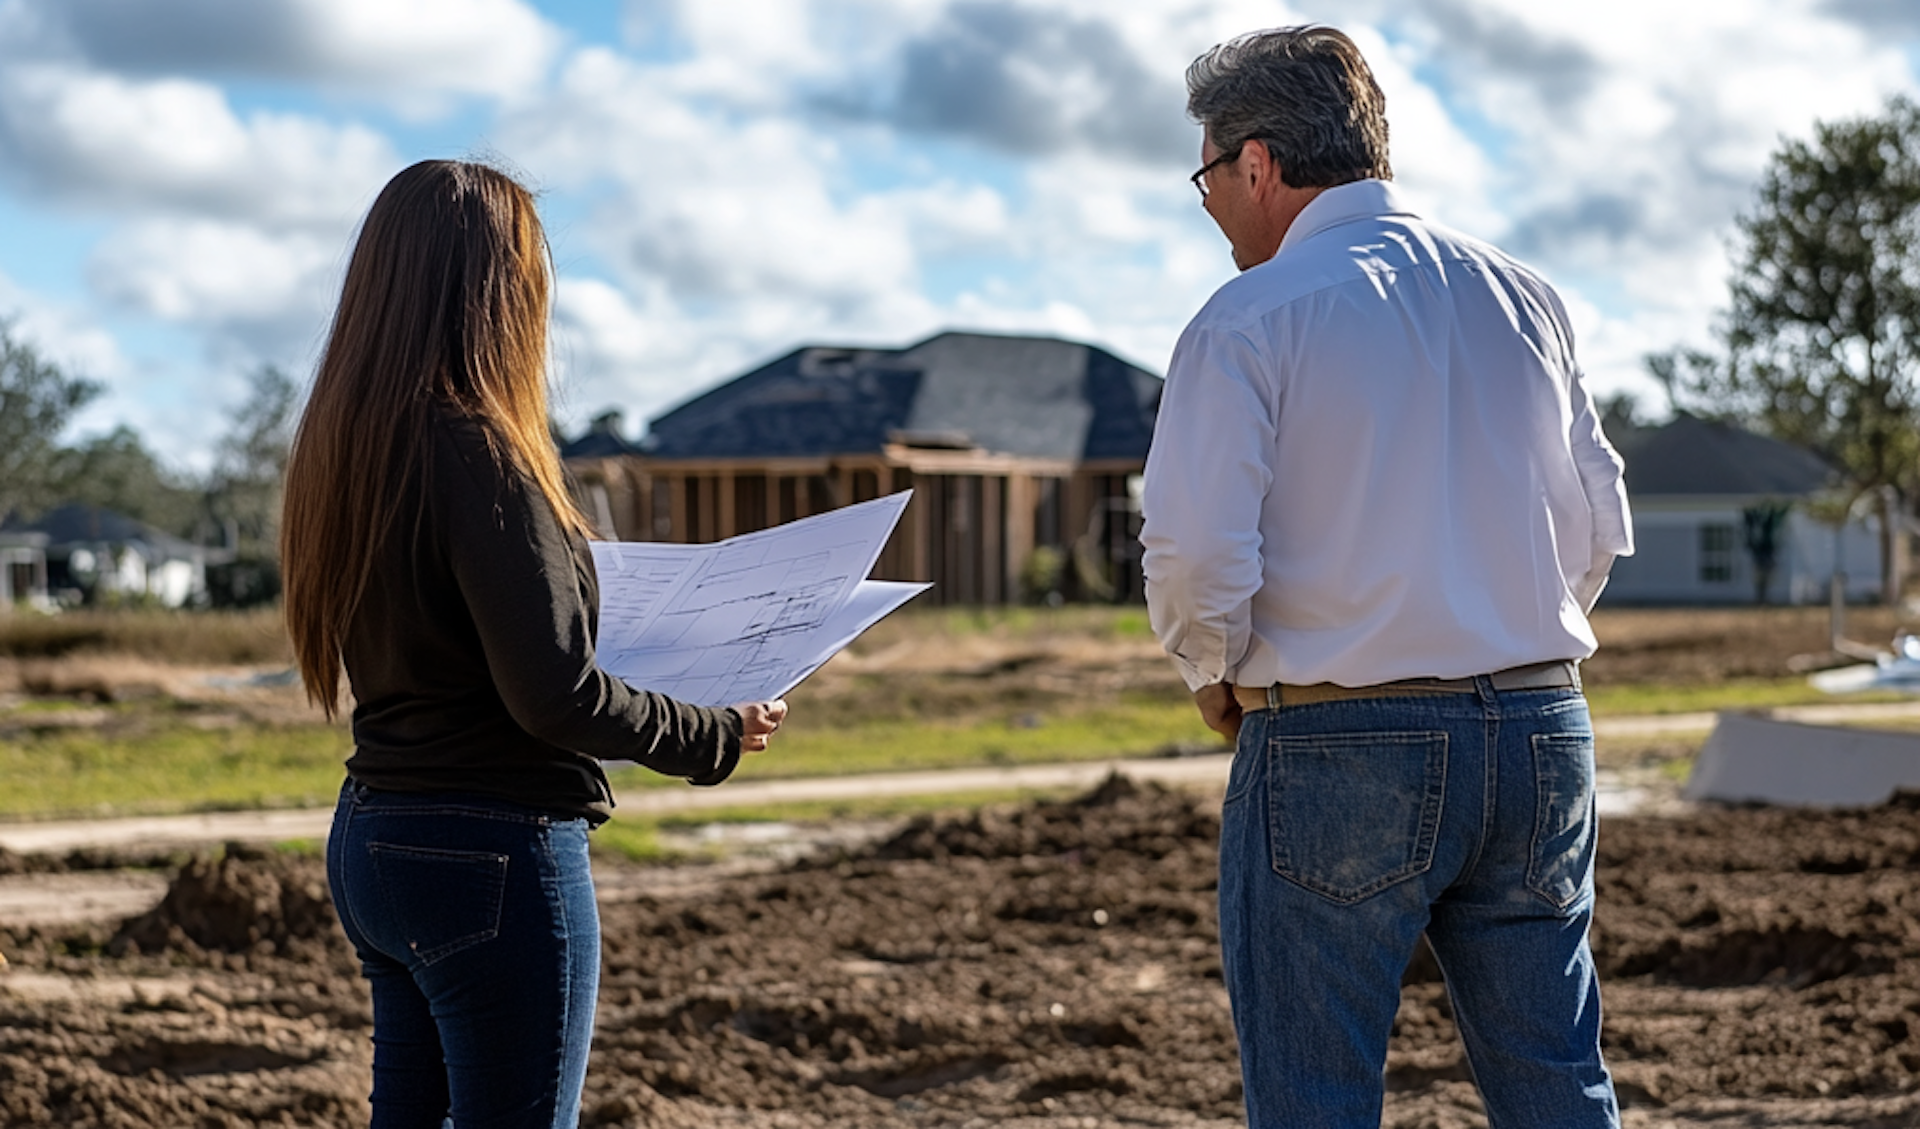
This guide will discuss the importance of new construction inspections for builders and prospective home buyers. It will also discuss when each phase of construction should be performed to ensure the highest levels of quality.
Should New Homes Be Inspected?
Newly constructed homes should absolutely be inspected, and multiple home inspections are required to identify any issues that may have long-lasting consequences for homeowners.
While some people associate new homes with higher-quality builds, new homes are often subject to several issues that older homes may not face, including:
- Foundation Settlement: Improperly compacted soil or inadequate foundation design can cause cracks in the foundation, leading to structural issues.
- Structural Issues: Some of the most common issues we encounter are typically improperly installed floor joists and framing members, which threaten the home’s overall structural integrity.
- Poor Workmanship: Inexperienced labor or rushed construction can lead to uneven surfaces, misaligned fixtures, or sloppy finishes.
- Defective Materials: Watch out for contractors that cut corners! Substandard materials or incorrect installation of quality materials can result in premature wear, leaks, or malfunctions.
HVAC Problems: Many new homeowners are frustrated to learn that they have an expensive HVAC repair bill in the first year of their home. Unfortunately, poor installation can quickly curtail the longevity of your HVAC system and force it into early repair.
Phases of New Construction Inspections
Avoiding these issues requires continuous oversight and monitoring by builders and their staff. One way to catch mistakes early in the construction process is to invest in routine inspections completed at strategic points. These points include:
Foundation Inspection
The first construction phase involves laying the foundation, and is where your first inspection should begin.
During this phase, inspectors examine the excavation, footings, and foundation walls to ensure they meet engineering specifications. Key aspects checked include:
- Levelness and Stability: Ensuring the foundation is level and stable.
- Waterproofing: Checking for proper sealing and drainage to prevent moisture issues.
- Reinforcement: Verifying the placement and integrity of steel reinforcement bars (rebar).
- Compaction: Ensuring soil around the foundation is properly compacted to prevent sinking or settlement.
Performing an inspection at this stage will preserve the home’s structural integrity and save the homeowners thousands in potential repairs.
Pre-Drywall Inspection
Next, a thorough inspection should be performed after all framing and structural members of the house are erected. A pre-drywall inspection allows inspectors to peek behind the walls of your home and investigate several critical components, including:
- Structural Framing: Inspecting the framing for any defects, such as inadequate support or improper spacing.
- Electrical and Plumbing: Checking wiring, outlets, switches, and plumbing connections for compliance with codes and safety standards.
- Insulation and Ventilation: Ensuring proper installation of insulation and ventilation systems to maintain energy efficiency and indoor air quality.
This stage of inspection is arguably the most important, as it can catch costly repairs and structural defects before they become endemic.
Final Inspection
The final inspection occurs when the construction is complete before the home is officially sold. At this stage, buyers must perform an inspection to ensure that all components of the home are sound. Far from beyond a blemish-free report, we often find several issues related to workmanship and material quality at this stage. Some components we look at include:
- Exterior: Checking siding, roofing, windows, and doors for proper installation and weatherproofing.
- Interior: Assessing finishes, cabinetry, flooring, and fixtures for quality and functionality.
- Mechanical Systems: Testing HVAC systems, water heaters, and appliances to ensure they operate correctly.
This inspection also ensures that the new build is up to spec and complies with local municipal codes.
1-Year Inspection (Warranty Inspection)
Many new homes come with a builder’s warranty that covers defects for up to a year after construction completion. However, once that warranty runs out, you will be on the hook for any repairs. The 1-year inspection, typically conducted around the 11th month of occupancy, aims to:
- Identify Defects: Catch any issues covered under the warranty before it expires.
- Document Concerns: Provide a detailed report to the builder for necessary repairs.
- Ensure Compliance: Verify that previous issues have been adequately addressed.
Addressing warranty issues promptly helps maintain the home’s value and livability over the long term.
With these potential issues in mind, we strongly urge prospective home buyers to only purchase a home inspected at each stage or to work with a builder who has proof these inspections were performed.
Additional Considerations
Beyond the basics, here are some additional factors to consider regarding new construction inspections:
- Builder’s Reputation: Research the builder’s reputation for quality and customer satisfaction.
- Contractual Obligations: Review the contract to understand inspection rights and responsibilities.
- Indoor Air Quality: Poor ventilation can lead to mold and several additional air quality issues. Performing an air quality inspection will help catch these issues before they compound.
- Water Quality Testing: While it’s not something many homeowners think about, it pays to test your water quality, especially if you’re buying a home with new water lines running to it or from a well.
With the rate of new construction in Northeast PA, it’s more important than ever for builders and prospective homeowners to perform inspections at each stage of the new construction build. This will help protect both parties from financial liabilities and smooth the transaction process.
FAQs
Why should I get a new construction inspection if the home is brand new?
Despite being new, homes can have construction defects, errors, or incomplete work that may not be immediately apparent. An inspection provides an unbiased evaluation by a professional to catch and address issues early, potentially saving on future repair costs and ensuring peace of mind for the buyer.
Who performs new construction inspections?
Inspections are typically conducted by licensed and certified home inspectors who specialize in new construction. These professionals have the expertise to identify construction issues and provide detailed reports on the home’s condition.
What do inspectors look for during a new construction inspection?
Inspectors evaluate various aspects of the home, including:
- Structural integrity and quality of construction.
- Electrical, plumbing, and HVAC systems for compliance with codes.
- Proper installation of insulation, windows, and doors.
- Functionality of appliances and fixtures.
- Overall safety and adherence to building standards.
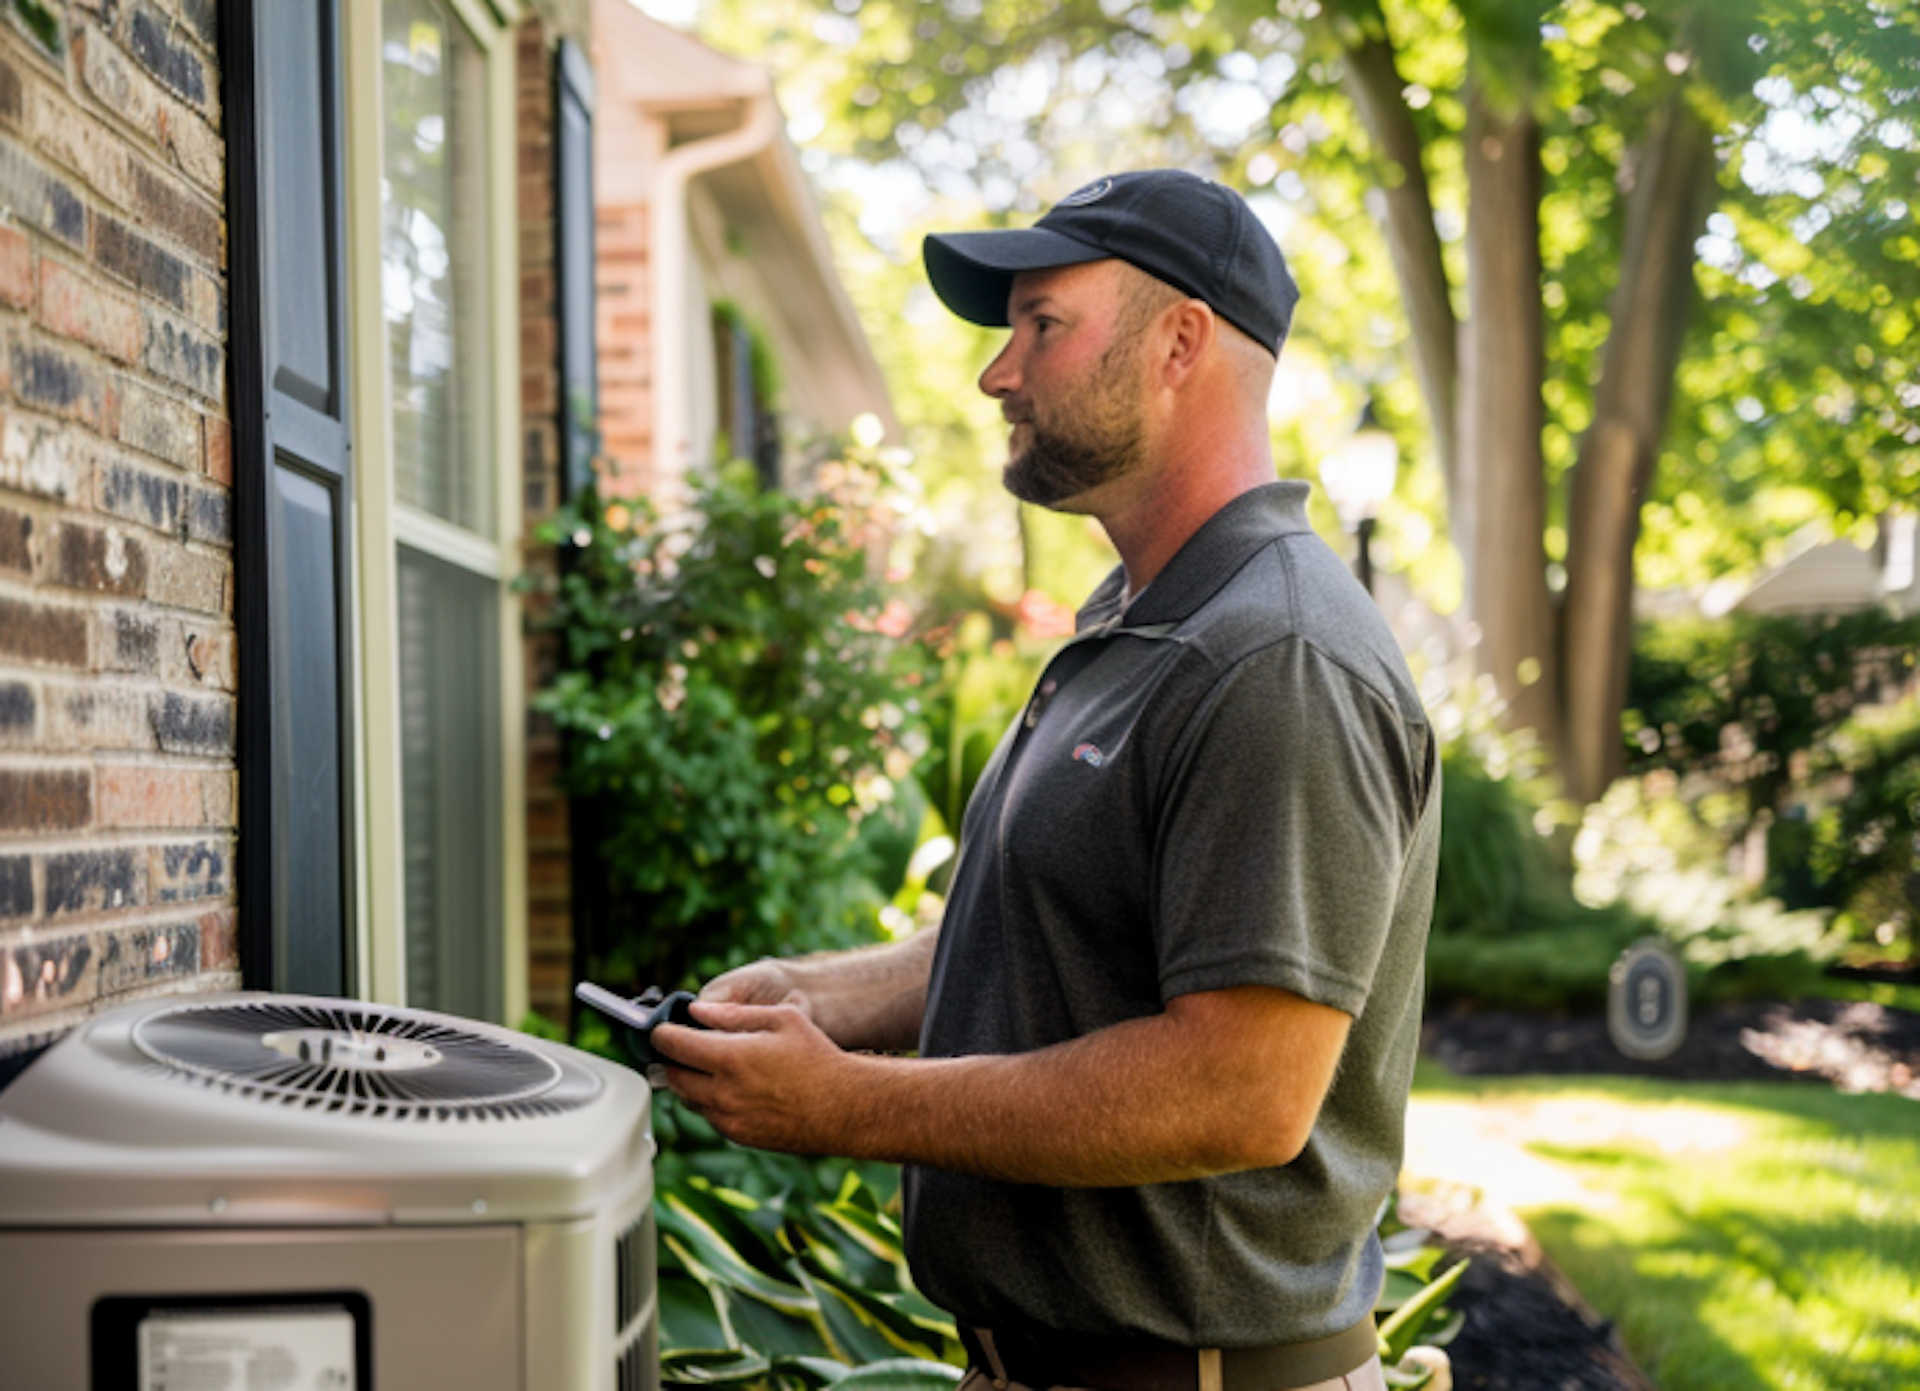
9 Home Inspection Tips to Help Sellers Get Their Homes Sold Faster
Selling a home can be just as stressful, if not more stressful, than buying a home.
If you are trying to buy a home yourself, and it’s contingent on selling your existing home or actively paying a mortgage on two separate homes, then the pressure to sell quickly can be unbearable.
One way sellers can ease this pressure and avoid obstacles in the closing process is with a pre-listing inspection. This article will outline the benefits of a pre-listing inspection for sellers and outline eleven home inspection tips for sellers to ease this process.
Why Should You Get a Pre-Listing Inspection?
The nationwide average for closing times is around 44 days, though this could easily double or triple in length with a bad inspection report.
For sellers under pressure to sell fast, unforeseen issues that inevitably come up in an inspection report can mean waiting weeks to repair or relisting the home at a lower price.
That’s why we often recommend a pre-listing inspection on your current home as the first step in selling it or buying another one.
By conducting a pre-listing inspection and getting an honest assessment of its condition, you will be able to:
- Price your home accurately, understanding how much you can get in equity to finance a new home.
- Market your home appropriately to attract the right buyers.
- Proactively make repairs that could delay closing times and actively imperil any offer you’ve made on another home.
What Does a Pre-Listing Inspection Check?
A pre-listing inspection provides the same overview of your home as a traditional residential home inspection that any buyer would purchase. Some of the most important elements of the inspection include:
- Structural integrity: The condition of the roof, foundation, and floors.
- Plumbing Issues: The condition of pipes, water heaters, and water pressure.
- Electrical Issues: The condition of wires, electrical boxes, and outlets.
- HVAC Issues: The condition of all heating and cooling equipment.
However, a pre-listing inspection will be more thorough than that. Most inspectors will evaluate every inch of your property and outline any problems they spot, from a chimney with poor flashing to a bedroom door knob that doesn’t function properly.
9 Tips for Homeowners to Prepare for an Inspection
You may think you are powerless during a home inspection, but there are many things you can do to help your inspector and clean up your inspection report.
1. Find the Right Inspector
First, it’s essential to find the right inspector. A good inspector will be able to identify any issues that may come up in a future inspection report and save you the headache.
There are many resources to find an inspector, including:
- Your realtor or brokerage
- Referrals from friends and family
- Online directories and review sites
One thing to keep in mind is certification. Look for things like certification from the International Association of Certified Home Inspectors (InterNACHI) to find a properly qualified inspector. There are even tiers of service, with a Certified Master Inspector representing the highest tier.
2. Make Small Repairs Where Possible
While most people can’t fix a roof, you can be proactive in helping your inspection report by making small repairs wherever possible. Ideas could include:
- Fixing loose door knobs
- Sanding down doors that stick
- Patching any holes in walls or ceilings
- Tightening railings
- Fixing leaking or dripping pipes
- Applying caulk to cracks
- Using pest control to eliminate any pests
- Repairing or replacing weatherstripping
- Fixing light switches or loose outlet covers
- Ensuring locks work properly
3. Conduct Exterior Maintenance
Likewise, it helps to conduct some exterior maintenance on your home. This will also add some serious curb appeal. Some ideas include:
- Trimming overgrown brush
- Clearing out clogged gutters and downspouts
- Positioning downspouts away from the home
- Repairing loose bricks, stones, or cement.
- Painting and sealing wooden decks or porches.
- Power spraying your siding.
- Eliminating any birds or wasps nests.
4. Get Your HVAC System Tuned Up
Unlike many appliances in your home, heating and cooling systems require routine maintenance over the years to ensure they are in working order. This includes cleaning filters, though it often pays to hire a local contractor to ensure your refrigerant and coils are working on all cooling systems.
Ductwork inspections should also be done routinely to inspect for cracks and leaks that rob you of energy efficiency.
5. Inspect for Water Damage
Water damage is a massive concern for homeowners, and it can lead to issues like mold, pests, and damage to interior framing components. Inspect for water damage before an inspection to see if any repairs need to be made or if an additional mold inspection should be completed.
- Look for wet spots around pipes.
- Inspect pipes in your basement drop ceiling for corrosion and loose fittings.
- Search for cracks in drywall.
- Inspect for mold in areas where visible.
- Monitor humidity and moisture content in rooms with poor ventilation.
6. Clean and Eliminate Any Clutter
Tidying up your home and getting rid of clutter will allow the inspector to thoroughly search every inch of your home without missing any issues. Even just keeping your home neat could result in a more positive inspection report.
7. Ensure Utilities Are in Working Order
Inspect all utility hookups, including electrical, gas, water, and septic, to ensure they are in working order. For homes with septic systems, it often pays to complete a septic inspection to ensure all parts and filters are in working order.
8. Give Inspectors Enough Time and Space for Inspections
Some people recommend being present during inspections, but for sellers, it makes sense to give an inspector enough freedom to conduct the inspection at their own pace. This may require you to leave for an hour or two and possibly take your pet or restrict them to one room of the house.
9. Disclose All Known Issues
State law requires you to disclose all known issues to buyers, but it’s good practice to do the same for your inspector. This will give them a good starting point to look at and allow them to determine the extent of the damage.
Next Steps for Sellers
If the inspection report comes back positive, you can list your home and price it confidently.
However, if the report uncovers some major issues that do require repair or a close eye, there are a few options you can pursue:
- Hire a Contractor for Repairs: This is often the most straightforward solution, especially for major repairs that require technical knowledge. The important thing here is finding a contractor you trust that can make the repairs quickly.
- Make the Repair Yourself: This is not recommended for major repairs, but many homeowners don’t want to pay the additional cost of a contractor. Just be sure to disclose that you made the repairs yourself when providing the inspection report, as some buyers may want a follow-up inspection.
- Sell Home As-Is: This isn’t a bad option if you want to sell your home quickly, but it may require repricing the home.
Overall, a pre-listing inspection will help you avoid unforeseen obstacles that could slow or stall the sale of your home and allow you to make the necessary adjustments before listing.
FAQs
Should I provide documentation of past repairs or maintenance?
Yes, providing documentation of repairs, maintenance, and upgrades can demonstrate that the home has been well cared for and can alleviate buyer concerns.
Do I need to disclose known issues?
Yes, sellers are typically required to disclose known issues with the property. Honesty is crucial to avoiding legal issues and maintaining trust with potential buyers.

Maintaining Your HVAC Filter
One of the most common HVAC issues we find on home inspections is poor maintenance as a result of a dirty or clogged filter. While a dirty filter won’t spell the end of your HVAC unit just yet, it will slowly rob it of its energy efficiency and eventually degrade its interior components.
Fortunately, maintaining an HVAC filter is very easy and straightforward and only requires routine cleaning about once or twice a month. This guide will discuss the importance of maintaining your HVAC filter and how to clean it thoroughly.
The Importance of HVAC Filter Maintenance
Maintaining your HVAC filter is incredibly important for several reasons. For one, it helps maintain indoor air quality. A clean filter also helps keep your family safe by reducing allergens and dust that circulate through the air.
Cleaning your filter also allows you to save on energy costs. When filters are clogged with dirt, they have to work harder to maintain the same temperature, which will increase your energy bill each month.
Lastly, regularly maintaining your filter allows you to maximize the system's life. A clogged filter, as we now know, causes the system to work overtime, which may cause it to overheat, resulting in leaks and electrical issues.
Now that we can see why maintaining your HVAC filter is important, the question is, how do we do this?
Types of HVAC Filters
Before we discuss how to clean your filters, it is important to know that there are two types of HVAC filters:

1.) Disposable: These filters should be thrown away once they become clogged or dirty. They consist of a cardboard frame that is not designed to withstand spraying from a hose or continuous use. Disposable filters should be replaced at least every three months
2.) Permanent: Instead of cheap cardboard frames, most standard HVAC filters have fiberglass frames. They may cost more upfront, but in the long run, can save you money as these can be cleaned and then reused.
How to Clean Reusable HVAC Filters
To clean your permanent filter, first turn off the heating or air conditioner and then locate your HVAC unit's service panel. Once you have found this, open it to remove the filter. Clean the filter with running water, either from your sink or a garden hose. It is important to wait until your filter is completely dry before reinserting it back into your system.
Quick Tips for Maintaining Your HVAC Filter
- Follow manufacturer instructions for cleaning and maintaining your HVAC filter.
- Use a special cleaner designed for your filter to prolong its life.
- Set a reminder on your phone for every month to clean your HVAC filter when the system is in use. Make it part of your spring cleaning and summer maintenance routine.
- Inspect filters for damage after each cleaning and replace filters when they become torn or have holes present.
By following these easy steps, you will be able to not only protect the health of your family, but also save on energy costs and lengthen the life of your HVAC system!